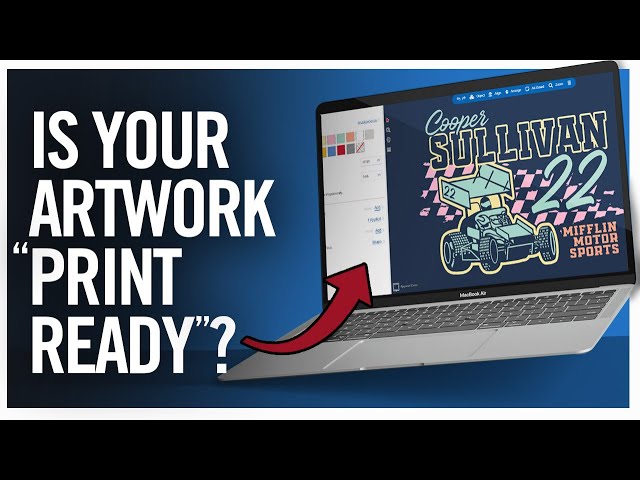
Creating print-ready artwork files involves a few critical steps to ensure that your final printed piece looks exactly as intended.
Here’s a comprehensive guide:
1. Choose the Right Software
- Use professional graphic design software such as Adobe Illustrator, Adobe InDesign, or Adobe Photoshop.
- These programs offer the necessary tools and settings for creating high-quality print designs.
2. Set the Correct Document Size and Bleed
- Document Size: Set your document to the exact size of the final print piece.
- Bleed: Add a bleed area (usually 3mm or 1/8 inch) around your document to ensure that there are no white edges when the piece is trimmed.
3. Use CMYK Colour Mode
- Convert your colours to CMYK (Cyan, Magenta, Yellow, Black) instead of RGB (Red, Green, Blue) because printers use CMYK inks.
4. Resolution
- Ensure that all images and graphics are at least 300 dpi (dots per inch) for high-quality printing.
5. Embed Fonts or Outline Text
- Embed all fonts used in the document or convert text to outlines to prevent font substitution issues.
6. Use High-Quality Images
- Use high-resolution images to avoid pixilation. Images should be at least 300 dpi.
7. Ensure Proper Colour and Contrast
- Check your colours and contrast to ensure that they look good in print.
- Some colours may look different on screen compared to print.
8. Avoid Overlays and Transparencies
- Flatten any layers with transparencies to avoid unexpected results when printed.
9. Include Crop Marks and Safe Zone
- Crop Marks: Add crop marks to indicate where the document should be trimmed.
- Safe Zone: Keep important text and graphics within a safe zone, typically 3mm or 1/8 inch inside the trim line, to avoid cutting off any important elements.
10. File Format
- Save your artwork in a print-ready PDF format.
- Ensure that the PDF settings are set to high quality, and include bleed and crop marks.
11. Check for Errors
- Carefully proofread and check your artwork for any errors before sending it to print.
- This includes checking for spelling mistakes, alignment issues, and correct placement of all elements.
12. Pre-flight Check
- Use a pre-flight tool or the pre-flight features in your design software to check for any potential issues that might cause problems during printing.
Example Workflow in Adobe InDesign
Create a New Document: Set the document size. Add a bleed of 3mm on all sides.
Design Your Artwork: Ensure all colours are in CMYK mode. Place high-resolution images. Keep important elements within the safe zone.
Prepare for Export: Convert text to outlines or embed fonts. Flatten transparencies.
Export as PDF: Choose “High Quality Print” pre-set. Check “Use Document Bleed Settings” and include crop marks.
Pre-flight and Proof: Use pre-flight tools to check for errors. Proofread the final PDF.
Following these steps will help ensure that your print job turns out as expected, with crisp, clear, and vibrant results.
kamagra aucun script requis livraison pendant la nuit
commande kamagra livraison
buy enclomiphene buy sydney
get enclomiphene generic india
get androxal buy online uk
cheapest buy androxal cheap uk buy purchase
cheap dutasteride cost australia
online order dutasteride without prescriptions canada
buy cheap flexeril cyclobenzaprine generic australia
buy cheap flexeril cyclobenzaprine australia purchase
cheap gabapentin generic medications
order gabapentin purchase tablets
buy cheap fildena no prescription online
fildena price
canadian itraconazole for purchase
order itraconazole american express canada
discount staxyn cost usa
cheap staxyn american express
how to buy avodart generic alternative
buying avodart without a script
online order xifaxan cheap australia
buy cheap xifaxan uk buy cheap
ordering rifaximin generic in us
cheapest buy rifaximin price on prescription
kanadská lékárna obecná kamagra
kamagra bez rx